Simple, easy, and fun for the family
The holidays can be a hectic time, school starts, then Thanksgiving, Halloween and Christmas. Somewhere in between all the chaos you are expected to run a house hold, attend functions, and do the dreaded holiday shopping.
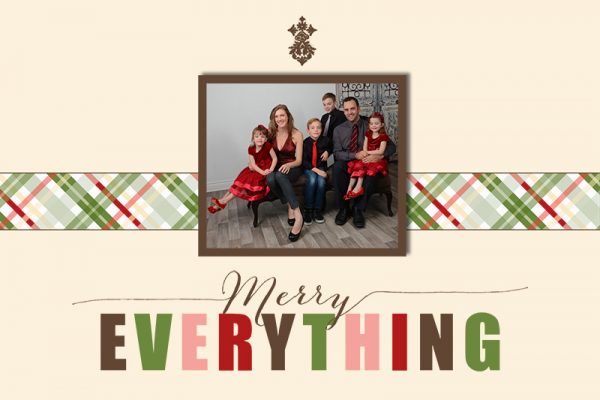
While the generic cards bought at the store will suffice if you are in a pinch, creating a memorable holiday card to send out will not only make a lasting impression, you can get the entire family involved.
It is never too early to start your cards, and they are a good way to show the growth of your children, pets, and family. Make sure you book your appointment with me at least two weeks prior to starting this project.
Materials Needed:
- Folded Card, purchased from any craft store, or online from etsy.com
- Double Sided Tape
- Photographs
- Red Marker
- Silver Metallic Marker

Step 1
While selfies are all the rage right now, there is something to be said having a professional photographer take it for you. Not only is the end result better, you can get the entire family in on the fun.
Step 2
Print out the photo. If you want all the cards to be the same, go ahead and print several copies.
Print Out your Christmas Photo

Step 3
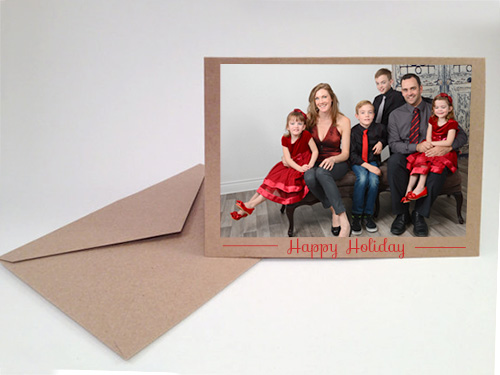
Place four pieces of double sided sticky tape on the back of the photo. One on each corner
Step 4
Offset the picture slightly, moving it to the top of the card instead of the center, will allow you to add a message on the front of the card.
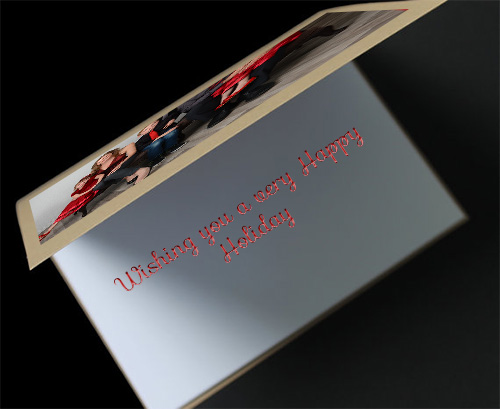
Step 5
Using the red marker, write your message inside the card, and outline it with the metallic marker.
Step 6
Repeat step 1-5 until all photos have been used up
To change up the cards slightly, you can embellish the front, inside or back, with ribbon, glitter, or anything you like.